
 Zipp Sl Speed Carbon Seatpost
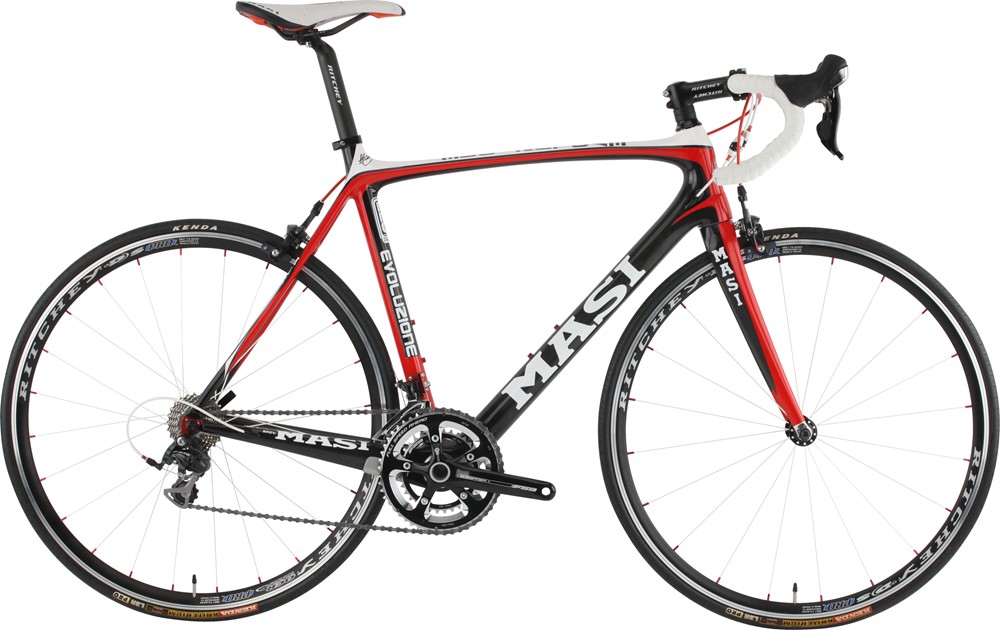 Masi Evoluzion 105
 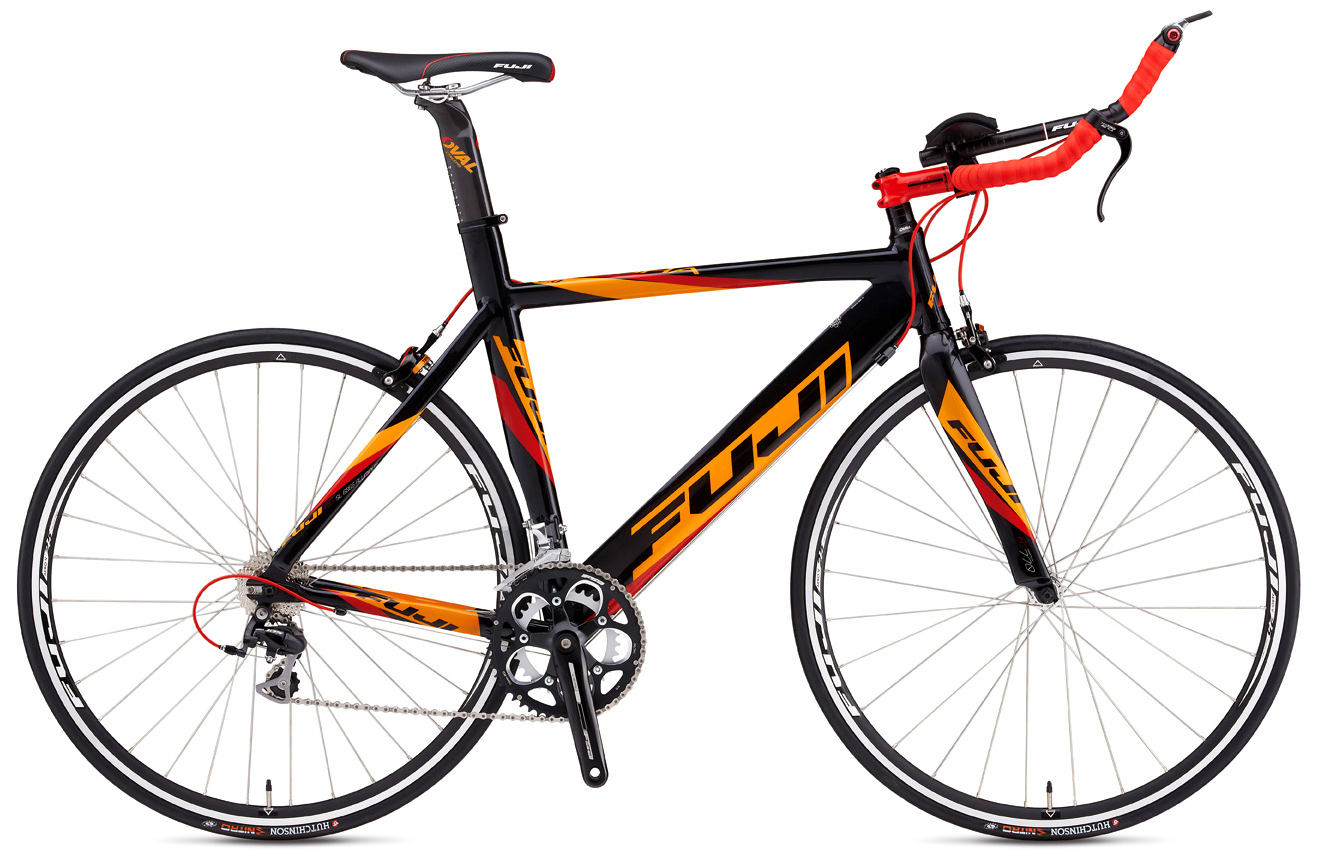 Fuji Aloha 2.0 Great Deal!
 Bike Fit Basics
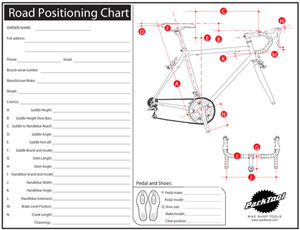
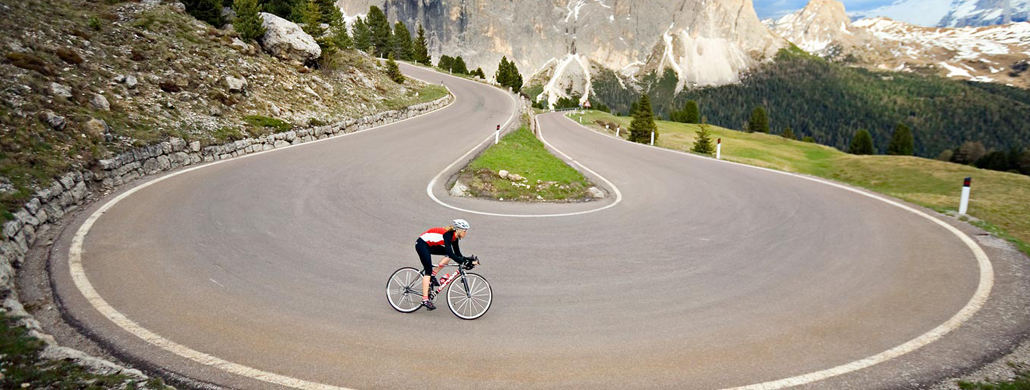
Lasers, slide rulers, 3D imaging, an array of tools and methods exist today that claim to fit you on a bicycle better. In general all of the technology and fancy tools are different ways of measuring the same five basic components listed below. Many premier bike shops and pro tour fitters, still use the basic tools such as rulers and a plum bob to deliver an exquisite bike fit. Garbage in garbage out, still applies no matter how fancy or expensive your new laser-measuring device is. Experience is what counts and that is what we have! Ok maybe we have a few fancy tools as well.
Call or email us to make an appointment with our experienced bike fitter.
It’s important to pay close attention to how your bicycle fits your body. On the road or off, pedal casually or competitively a properly fitted bike is key in if you want to ride comfortably, safely, avoid injury, and produce more power, so you go faster with the same or less effort. Below are the general five basic components/measurements to consider.
1. Frame Size
Frame size is perhaps the most important of all measurements because once you purchase the bike, there are very few—if any—minor adjustments that can affect the overall frame. Frame size is not necessarily dependent on your height; rather, it is more a matter of leg length. Simply, the frame should be easily straddled with both feet flat on the ground, and with perhaps an inch or two of clearance.
- For a road or hybrid bike, you should have an inch or two of clearance between your crotch and the top tube.
- For a mountain bike, clearance should be about four inches—especially if you plan to ride in rugged terrain where an unplanned dismount is likely.
2. Saddle Height
A saddle (seat) set too high or too low can cause pain and lead to injuries of the back and knees, and it will also affect the efficiency of each pedal stroke. As a starting point, set the saddle height so that your knee is slightly bent when the pedal is at its lowest position and the ball of your foot is on the pedal. It is recommended to make adjustments in very small increments and, if applicable, to wear your cycling shoes during the adjustment process.
3. Saddle Position
To check the saddle position, sit on your bicycle—using a friend or a stationary object to keep yourself balanced— and rotate your pedals until they are horizontal (at the 3 o’clock and 9 o’clock positions). If your saddle is positioned properly, your forward knee should be directly over the respective pedal axle (with the ball of your foot on the pedal). For precise measurement, use a plumb-bob to help you visualize the alignment. If adjustments are needed, loosen the seat post and slide the saddle forward or backward, keeping the seat level.
4. Saddle Tilt and Design
Generally speaking, your saddle should be level. Check this adjustment by using a carpenter’s level balanced on the saddle while the bike is on level ground. If your saddle tips too much in either direction, pressure will be placed on your arms, shoulders, and lower back.
5. Handlebar Position and Distance
Handlebar setup is a matter of personal preference because it will affect shoulder, neck, and back comfort. Generally, handlebars are positioned higher for comfort (a more upright riding position) and lower for improved aerodynamics.
Always Wear a Helmet!
RATES
Basic Bike Fit $70 (40 - 45 Minutes)
A bike that is adjusted to fit your body will support a relaxed position suited to your riding style.
- Saddle evaluation and selection
- Saddle height and fore/aft adjustment
- Handlebar height and reach adjustment
- Instruction on riding posture and component usage
- Documentation of saddle and handlebar position
Cleat Fit $45 (30 - 40 Minutes)
Proper placement of cleats on cycling shoes is essential for ease of use and to avoid foot and knee pain.
- Pedal and cleat installation
- Cleat fore/aft alignment
- Cleat rotational alignment
- Instruction on pedal use and safety
Spinning customers: A Cleat Fit is just as important for stationary indoor cycling as it is for outdoor riding. If you do not have a bike, the fitting will be done on one of our bikes.
Triathlon Bike Fit $100
Proper placement of cleats on cycling shoes is essential for ease of use and to avoid foot and knee pain.
- Basic Bike Fit on a tri bike or road bike with aero bars
- Aero bar evaluation and selection
- Aero bar height and reach adjustment